What is a pipeline?
A pipeline is a markdown file inapi-docs/flows/ that chains endpoint specs into sequential or parallel steps. Each step can capture values from a response and inject them as variables into later steps auth tokens, resource IDs, pagination cursors, and anything else extracted from a live response.
Pipeline frontmatter
Pipeline files use the same frontmatter delimiter as endpoint files, with a requiredtype: pipeline field.
Step syntax
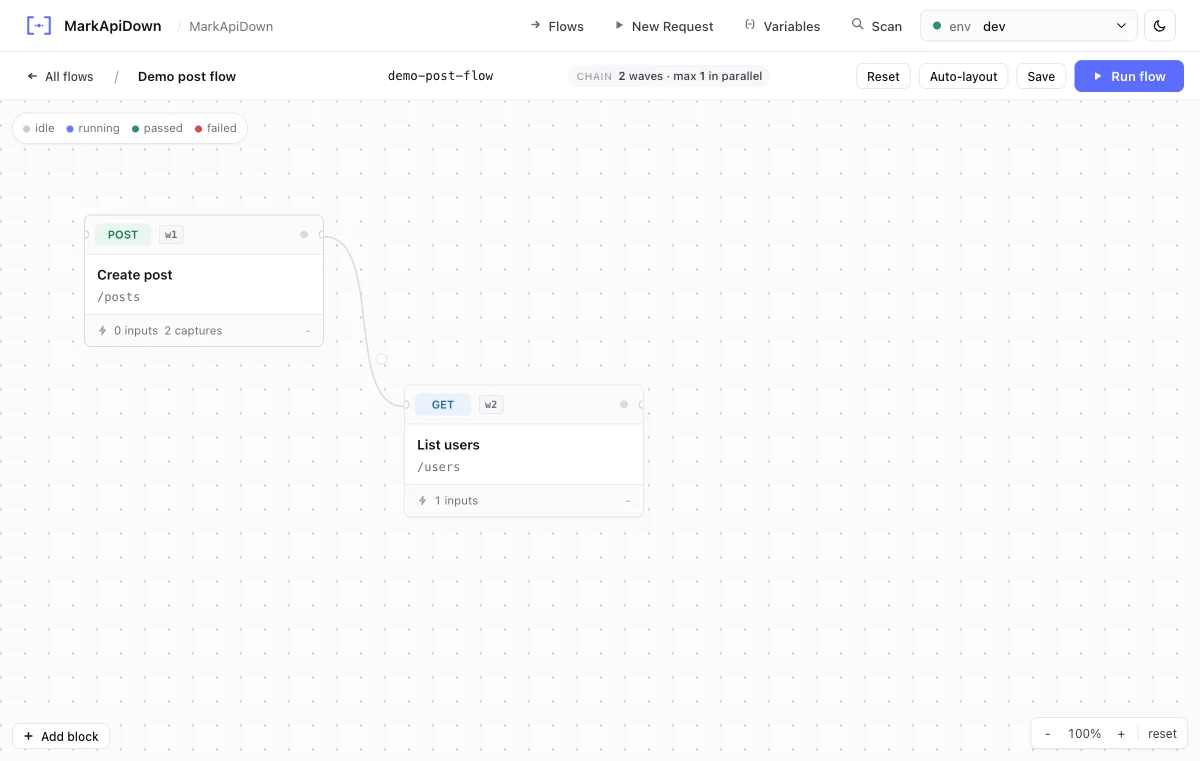
Steps are a numbered ordered list under## Steps. Each item names the step and points to an endpoint file path relative to api-docs/.
Step directives
- Capture
- Inject
- Assert
Extract a value from the response and save it as a named variable for use in all subsequent steps.Supported capture expression patterns:
Use JSONPath-style dot notation for JSON responses. Captured values have the highest variable priority and override all other sources for all later steps in the pipeline.
Sequential vs parallel execution
- Sequential (default)
- Parallel
Steps run in the order they appear in the
## Steps list.- If
continue-on-error: false(the default), the pipeline stops at the first failing step and reports which step failed. - Captured values are available to all steps that appear after the capturing step.
- Use sequential pipelines whenever later steps depend on the results of earlier ones which is true for most real-world flows.
Running a pipeline
- Web UI
- CLI